Ham – or not ham – and broccoli rollups

Serves 4-6
Takes about 30 minutes to prepare (a little longer if using brown rice) and 30 minutes to bake

This recipe uses my patented no-roux cheese sauce that I use for mac & cheese. I think leaving the butter out of the sauce makes the cheese taste more prominent. Plus, this dish is served on buttered rice and topped with buttered crumbs.

Ingredients:
1 cup of white or brown rice
2 tablespoons butter
a handful of chopped parsley or other herbs (optional)
2 large stalks of broccoli, about 1 1/2 pounds
1 pound sliced deli ham, or smoked turkey
2 1/2 cups milk, skim, 2%, or whole will all work here, warmed slightly
1/4 cup all-purpose flour
salt & freshly ground black pepper
a few grates of nutmeg, or 1/4 teaspoon ground
1 teaspoon dry mustard, or a heaping teaspoon prepared mustard
2 1/2 cups (about 1/2 pound) shredded cheese – sharp cheddar, or combos are good – some cheddar, some Swiss, etc.
1/2 cup grated fresh Parmesan cheese
about 3/4 cup fresh bread crumbs
1 tablespoon butter

Heat the oven to 350°
Cook the rice in the recommended amount of water – about 1 1/2 cups for white, and closer to 2 cups for brown. When the rice is done, remove the cover and add the butter and parsley, if using. Recover and let stand for about 5 minutes, then toss with a fork to combine. Spread the rice in a buttered 2-quart casserole.

Cut the broccoli into trees, and either steam or blanch in boiling water until it’s partially cooked and gives easily when pierced with a fork, but still bright green. Drain, run some cold water over to stop the cooking, and drain again.

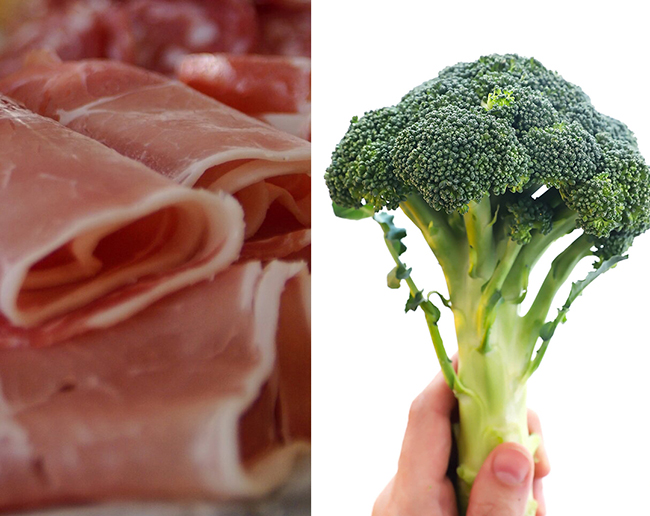
Roll up each broccoli tree in a ham slice and arrange in a single layer on top of the rice.

Make the cheese sauce: Place the flour in a heavy bottomed pot, and whisk in the warm milk. Cook over medium heat until the sauce bubbles and thickens, then add the salt & pepper, nutmeg, and mustard. Remove from the heat and whisk in the cheese, and half the Parmesan cheese, saving the rest for topping.

Melt the 1 tablespoon butter in the pot you used to cook the macaroni, and toss the bread crumbs in it.

Pour the cheese sauce over the broccoli rolls and rice (you may not need it all; it freezes well). Top with the buttered bread crumbs and remaining Parmesan cheese, and bake for abut 30 minutes until browned and bubbling.

Originally posted July 2021
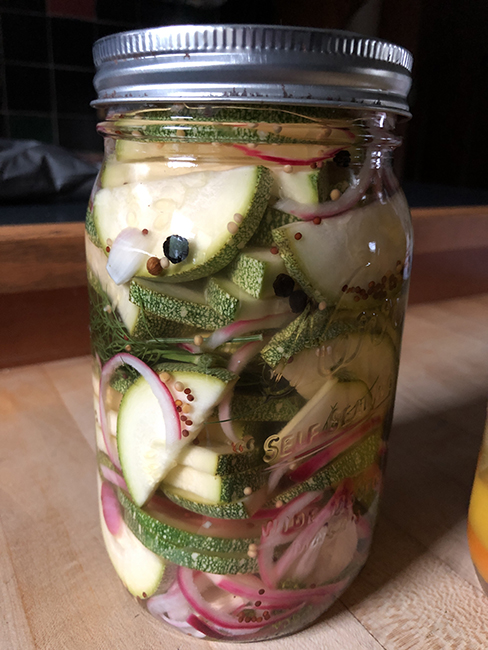
Refrigerator Zucchini Pickles

Makes 2-3 pints of pickles
Takes about 30 minutes prep, marinate at least overnight before serving
These are refrigerator pickles, not intended for canning, and are similar in sweetness to a bread & butter pickle. Pat Mulvey of Local Thyme offers Sweet Zucchini Pickles which includes turmeric, to give the pickles the traditional bread & butter pickle yellow color.

Equipment: 2-3 pint jars, or one 2 quart jar
1 1/2 pounds zucchini, rinsed, ends trimmed, and sliced into rounds – you can d this fancy with a crinkle cutter
1 purple or white onion, peeled and halved and sliced into half moons
1-2 tablespoon mixed pickling spices (or make your own blend of mustard seeds, bay leaf, peppercorns, whole cloves or allspice, maybe a bit of cinnamon stick)
2-3 whole garlic cloves, peeled
1-2 dried hot red pepper (optional)
sprigs of fresh dill
1 cup vinegar, white or cider
1 tablespoon kosher salt
1/2 cup sugar
about 2 cups water

Divide the zucchini and onion slices into your jars, and add the pickling spices, garlic, and red pepper if using. Tuck in the sprigs of dill. Combine the vinegar, kosher salt, sugar, and water in a saucepan, and bring to a boil, stirring to dissolve the salt and sugar. Pour over the vegetables while still hot. If you don’t have enough brine, add boiling water and a little more salt to fill the jars. Seal the jars with lids, and chill at least overnight before eating. Delicious on cheese sandwiches!

Quick BBQ tofu or chicken sandwiches with slaw

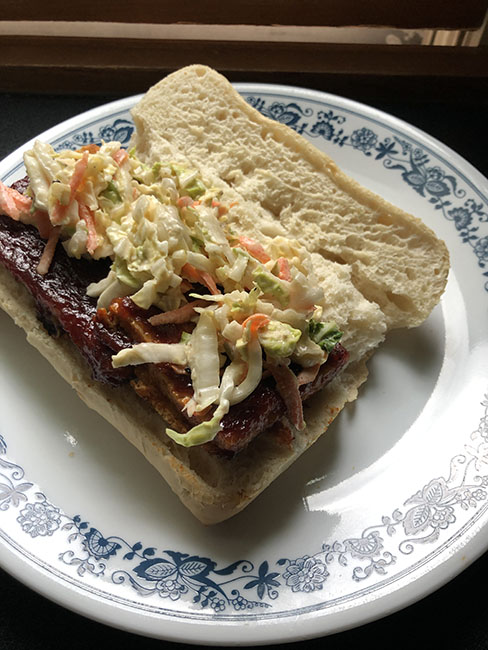
I’ve been making versions of these sandwiches for years; they are based on a recipe by Bryant Terry, Spicy Barbecue Tofu Triangles from Grub, a book he co-wrote with Anna Moore Lappe.
Tofu/chicken takes 30 minutes prep, and 30 minutes baking
Slaw takes 15 minutes prep, 1-3 hours wilting, 1 hour or more chilling

Tofu or chicken and sauce
Note: you can make this even quicker by skipping the sauce ingredients, and covering the tofu or chicken with about a cup of your favorite bottled barbecue sauce
one 16 oz. package of firm tofu (such as Bountiful Bean, made in WI) OR 16 oz. skinless boneless chicken breast
3-4 tablespoons vegetable oil, divided
about 3 tablespoons flour for dredging
2 tablespoons rice vinegar
3 TBLS soy sauce
1 8 oz. can of tomato sauce
1 large chipotle chile in adobo (or more if you like heat; these also come in cans)
2 tablespoons maple syrup
2 tablespoons molasses
2 teaspoon cumin
1 reaspoon dried oregano
pinch red pepper flakes
1 teaspoon chili powder
1 teaspoon paprika
4 soft French rolls
mustard & coleslaw for serving

Coleslaw:
6 cups shredded cabbage
1 carrot grated
1/4 cup sugar
1 teaspoon kosher salt
1/4 cup mayonnaise or vegan mayonnaise
juice of one large lemon or 3 tablespoons cider or rice vinegar
freshly ground black pepper
optional: 1/2 teaspoon celery seed
Additional coleslaw variations, here and here.

Preheat the oven to 350°. Squeeze some of the water out of the block of tofu, halve the block, and cut the halves into slices – you should get 4 slices per half. Dredge the tofu in flour, heat about a tablespoon of the oil in a large skillet, and fry the tofu in batches turning once until it is browned on both sides, adding more oil as necessary.

If you are using chicken, cut each breast into 3 or 4 pieces, then pound with a meat mallet until flattened to about an inch thick. Dredge in flour and fry following the same directions as for the tofu.

For sauce, combine one tablespoon of the oil, the rice vinegar, soy sauce, tomato sauce, chipotle chile, maple syrup, molasses, cumin, oregano, red pepper flakes, chili powder, paprika, and salt & pepper to taste in a food processor or blender jar, and whir until smooth. Pour enough of this sauce to cover the bottom of a one to two quart baking dish, and transfer the tofu or chicken into the dish as it’s fried. When you get all the tofu or chicken into the dish, pour in the rest of the sauce from the blender.

Cover the baking dish with foil, and bake for about 30 minutes, until all the sauce is absorbed.

Warm the buns, spread with mustard if desired, and make sandwiches with the tofu or chicken, and top with coleslaw.

For the coleslaw: In a large bowl, toss the shredded cabbage & grated carrot with the sugar and kosher salt. Transfer the cabbage mix to a colander – it helps to do this in the sink! – and set the colander inside the bowl. Let the coleslaw wilt for at least 1 hour and up to three. Lift the cabbage and colander out of the bowl, discard the liquid, and rinse and dry the bowl. Put the cabbage mixture back into the bowl and add the mayo, lemon juice, black pepper and celery seed if using and mix well. Chill the coleslaw for an hour before serving.

Kimchi

Many servings
Takes less than 30 minutes of chopping; overnight to salt the cabbage; and 2 days to 4 days to ferment the kimchi

2 pounds of Napa cabbage
1-2 tablespoons kosher salt
1/3 cup rice vinegar (unseasoned)
3 tablespoons Korean chili pepper paste (gochujang)
1 tablespoon minced garlic
1 tablespoon ground Ancho chile
1 tablespoon peeled and grated fresh ginger
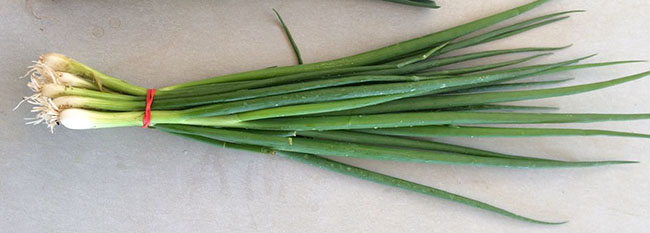
5 scallions, sliced in 2-inch sticks including the greens

Cut the cabbage into quarters and core it, and remove the outer leaves. Cut the cabbage into about 2 inch slices, place it in a large bowl, and toss with the salt. Transfer the cabbage to a colander (plastic or stainless steel that wont react wih the salt, is best here), and place the colander over a bowl (or leave it in the sink overnight). Weight the cabbage, by putting a plate that fits inside the colander on top, and putting a heavy can, like 28-oz. tomatoes, on top, and leave for 8 hours.

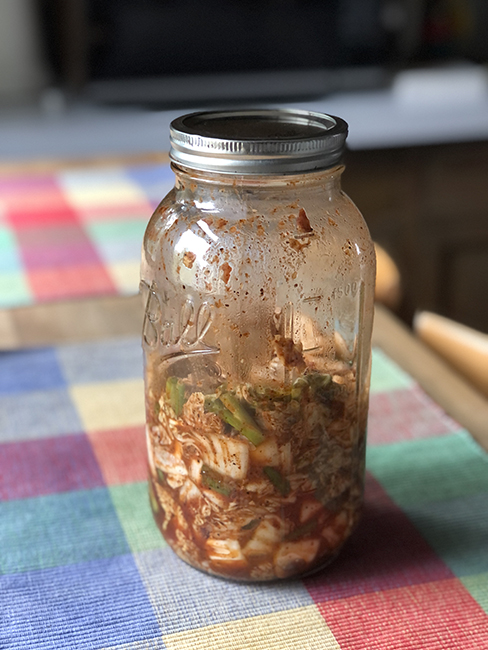
Mix the vinegar, chili paste, garlic, Ancho chile, and ginger in a large, nonreactive bowl. Add the cabbage by handfuls, squeezing out any excess moisture – some people wear gloves for this – and mix well your hands or a spatula. Add the scallions, mix, and pack into 2 quart jars. Leave on the counter to ferment for 2-4 days before storing in the back of your fridge where it will last for months (and get funkier!)

What to do with your kimchi once it is made?


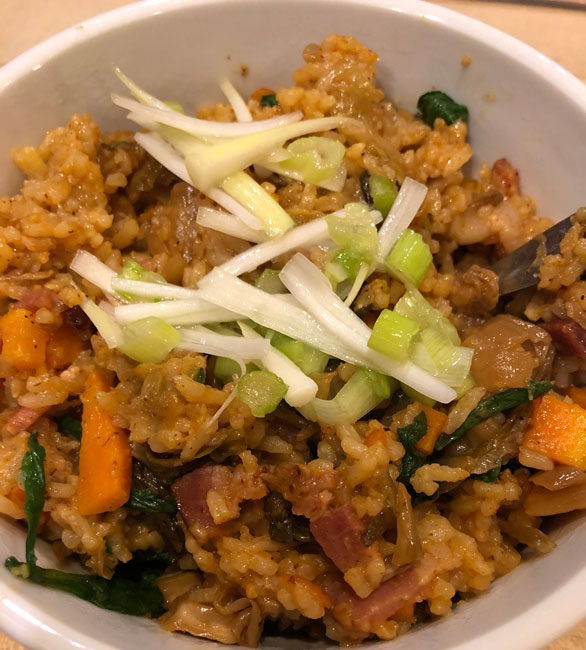
kimchi fried rice, inspired by Small Victories cookbook

kimchi grilled cheese, NYT

kimchi quesadillas, I Am A Food Blog

Summer 2021 CSA recipes

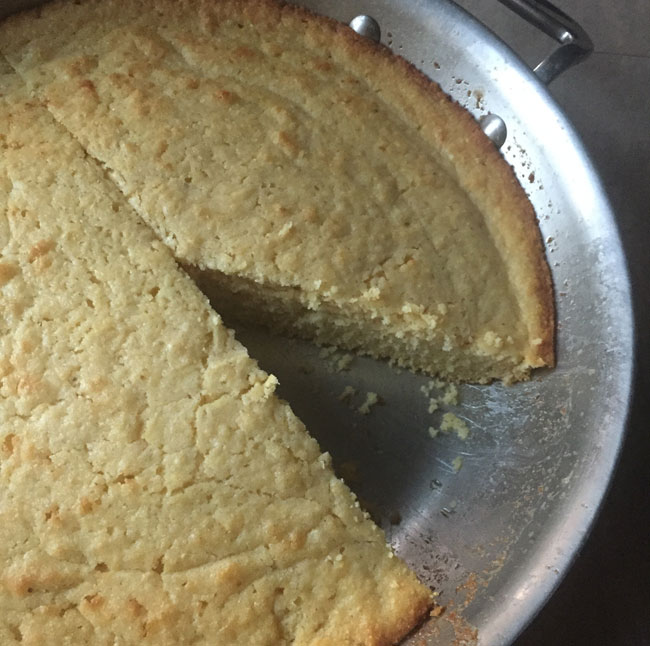
Brown butter cornbread with (or without!) scallions

Makes 8 large wedges
Takes about an hour

9 tablespoons (one stick + one tablespoon), salted butter
4-5 thinly sliced scallions
1/3 cup maple syrup
2 large eggs
1 2/3 cups buttermilk
1 cup cornmeal
2/3 cup unbleached flour (or use 1/3 cup unbleached and 1/3 cup whole wheat)
2 teaspoons baking powder
1 teaspoon baking soda
1 teaspoon salt

Heat the oven to 400°. Put the one tablespoon butter into a 9-10 inch round or square baking pan, and place it in the oven to heat and melt.

Brown the butter: Melt the remaining 8 tablespoons of butter in a sauce pan or heavy-bottomed skillet over medium heat. After its melted a white foam will appear. Stir or swirl the butter and watch carefully as the foam will dissipate and you’ll see brown flecks on the bottom of the pan, and butter will smell toasty and brown. As soon as that happens remove from the heat and toss in the scallions. Cool the butter mixture.

Make the batter: Beat the eggs and maple syrup in a large bowl, and pour in the buttermilk. Measure in the cornmeal, flour, leavening and salt, and mix with a spatula, then add the scallion-butter mixture. Remove your preheated baking pan from the oven, and pour in the batter. Reduce the heat to 375°, and bake for 30-35 minutes until a toothpick inserted in the middle comes out clean.

Summer 2021 CSA recipes

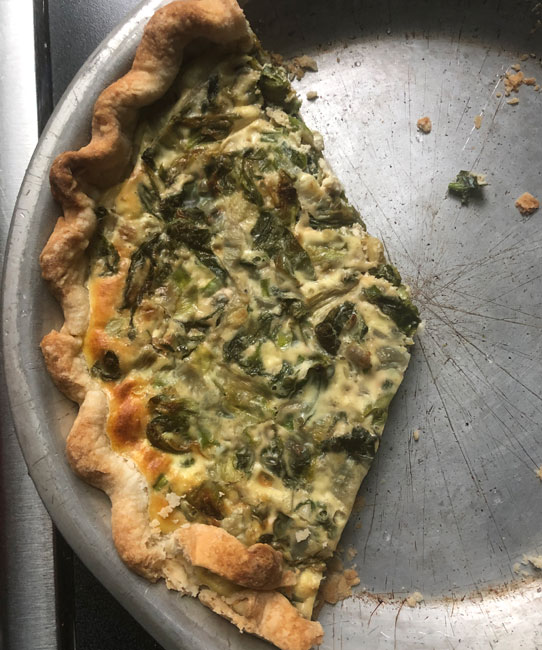
Spinach & Zucchini Quiche


Serves 4-6
Takes about 30 minutes, not counting chilling crust
Bake for 30-40 minutes

Pie crust:
1 1/2 cups flour (unbleached white or whole wheat)
good pinch salt, unless you’re using salted butter
2 teaspoons sugar
1/2 cup butter, either salted or un- (1 stick, 8 tablespoons)
1 tablespoon vegetable shortening or lard
1 tablespoon sugar
2-4 tablespoons cold water

Filling:
1/2 cup chopped onion
2 tablespoons butter
2 cups of rinsed, trimmed and cubed zucchini or summer squash
4-5 big handfuls of washed spinach
4-5 scallions, chopped, whites and greens
a few grates of fresh nutmeg, or about 1/4 teaspoon ground
4 oz. Gruyere or other sharp cheese grated
4 large eggs
1 cup half & half

Make the crust: measure the flour, salt and sugar into the bowl of your stand mixer (my favorite method), your food processor, or a mixing bowl. Slice the butter and shortening over the top and combine with the flour mixture, using the paddle attachment of the mixer, by pulsing the processor, or using a pastry blender, 2 knives or your fingers, until you have a crumbly mixture with no butter lumps bigger than currants. With the mixer or processor running, or while stirring with fork, drizzle in the water by tablespoons, until the mixture just starts to come together in clumps. Stop before you have one big ball. Turn the crust out onto a floured surface and knead lightly to bring it together. Gather it into a ball, flatten into a disk, wrap (in plastic, wax paper, one of your reusable snack/sandwich bags), and chill for about an hour, and up to 2 days.

When you’re ready to bake, roll out the crust and fit it into a deep 9-inch pie plate and crimp the edges. Set it in the freezer or fridge to chill while you make the filling. Heat the oven to 375°.

Make the filling: Saute the onions in the butter, and add the zucchini when they’re clear and softened. Cook for about 5 minutes, until the zucchini also softens up. Add the spinach, and cover the pan for a few minutes to wilt it. Uncover and raise the heat if necessary to boil off excess liquid. When everything looks cooked and dry, add the chopped scallions. Remove from the heat and season with the nutmeg and salt and pepper to taste, and let cool.

Sprinkle the cheese on the bottom of the crust. Add the cooled filling. Beat the eggs with the half & half and pour over. Bake for 30-40 minutes, until firm and browned.

Summer 2021 CSA recipes

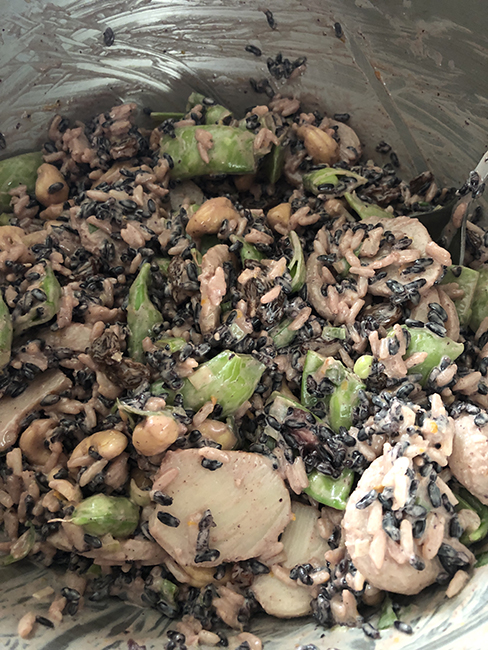
Ovens of Brittany Wild Rice Salad


Takes about 40 minutes
My adaptation of a classic recipe from the Ovens Of Brittany restaurant. We made vats of the stuff when I worked there. The original recipe calls for snow peas, but lightly cooked sugar snaps are even more delicious!

Salad:
2/3 cup wild rice
1/2 cup white rice
3-4 scallions, thinly sliced diagonally
1/2 pound sugar snaps, stringed, blanched until they’re just bright green, and cut in half or thirds
1/2 cup raisins or currants
one 8-oz. can sliced water chestnuts, drained
3/4 cup salted roasted cashews (or sub in chopped almonds, peanuts, or your favorite nuts)

Dressing:
1/2 cup mayonnaise
2 tablespoons soy sauce or liquid aminos
1 tablespoon peeled and grated fresh ginger
one medium clove garlic, minced or put through a press
juice of one half lemon
juice of one half orange
a few dashes of Tabasco

For serving: lettuce leaves and orange wedges, if desired

You’ll cook the rices separately: the wild rice in about 1 1/3 cups water, with a pinch of salt, until tender, about 20 minutes. The white rice in about 3/4 cup water, with a pinch of salt, for about 15 minutes. Combine the rices in a large bowl and let cool. Add the other salad ingredients.

Whisk the dressing ingredients together until smooth, and pour over the salad. Mix well, and serve over lettuce leaves, garnished with orange wedges. This salad keeps well in the fridge for a few days, but tastes best at room temperature, so if it’s been chilled allow a little time for it to warm up before eating!

Summer 2021 CSA recipes

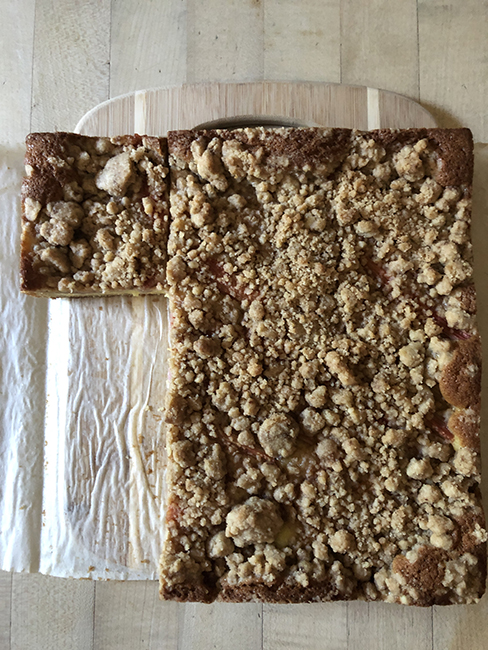
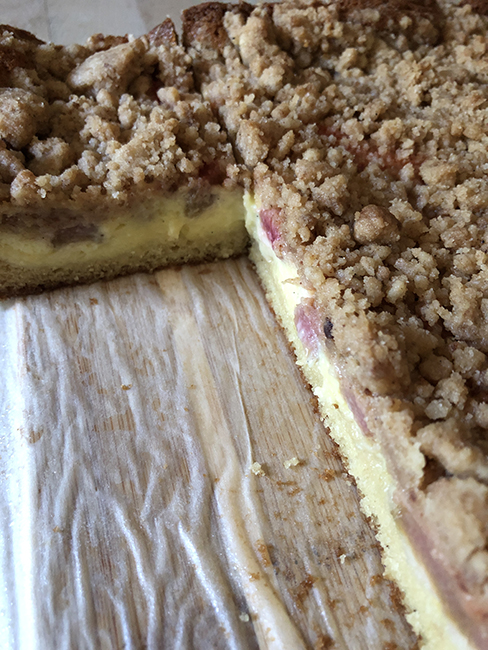
Rhubarb custard crumb cake

This recipe is based on Nicola Lamb, #17 on her Kitchen Projects substack. I’ve put the ingredients into American measurements for those without  the handy kitchen scale so common in British kitchens!

There are 4 components to this cake: roasted rhubarb, pastry cream, crumbs, and cake. Nicola recommends making the rhubarb & pastry cream the day before making the cake.

Roasted rhubarb:
300g – about 10-12 oz. rhubarb, rinsed, trimmed and cut into 3-4 inch lengths
1/4 cup sugar
1/4 cup water or orange juice
grated zest of half an orange (which can provide the juice)

Pastry cream:
1 cup plus 2 tablespoons milk
scant 1/4 cup sugar
3 egg yolks
1 tablespoon cornstarch
1/2 teaspoon vanilla or vanilla bean paste

Crumbs:
7 tablespoons butter
3 tablespoons sugar
3/4 cup flour
pinch of salt
1 teaspoon pumpkin pie spice
1/2 teaspoon cinnamon

Cake:
1 stick plus 2 teaspoons butter, room temperature
scant 1/4 cup sugar
scant 1/4 brown sugar
2 eggs, room temperature (you can sub 1 egg + the 3 whites separated from the yolks for the custard)
1 cup flour, very lightly scooped into the cup
1 teaspoon baking soda
1/2 teaspoon baking powder
pinch of salt
1/4 cup sour cream

Rhubarb: Heat the oven to 350° Toss together the rhubarb, sugar, orange juice and zest, and transfer to a shallow baking dish (like a pie plate) where it will fit in one layer. Roast for about 15 minutes until the rhubarb is tender but not mushy. Cool, cover, and refrigerate overnight.

Pastry cream: In a medium saucepan, heat the milk until just steaming. Meanwhile, whisk the egg yolks, sugar, and cornstarch together in heat proof bowl. Pour the hot milk into the egg mixture in a steady stream while whisking. Scrape back into the saucepan and heat, stirring, until thickened. Try not to let it boil, but if it starts, stir vigorously. Remove from the heat and add the vanilla. Rinse the bowl, and transfer the cream into it. Gently press a sheet of plastic wrap or waxed paper onto the surface of the cream, and refrigerate overnight with the rhubarb.

Crumbs: Melt the butter. Mix the sugar, flour, salt, and spices in a bowl,  pour in the butter, and stir with a fork until it forms crumbs. Refrigerate while you make the cake.

Cake & assembly: Heat the oven to 350° Line a 9-inch baking pan with parchment paper.  Cream the butter and sugars together either by hand or in a mixer. Add the eggs – it will look curdled but don’t worry about it at this point. Combine the flour, baking soda and powder, and salt in a small bowl, and mix into the butter-sugar-egg mixture. Remove form the mixer and fold in the sour cream with a spatula.

Spread the batter into the baking pan and smooth it. Dollop the pastry cream on top, and arrange the rhubarb on top of that. Crumble the crumbs over the top, trying to leave some of the cream and rhubarb showing (mine didn’t, much).

Bake for 40-50 minutes – Nicola says until there’s “only the slightest hint of wobble in the center”. Cool for 1-2 hours if you want it to cut neatly, and not squish.

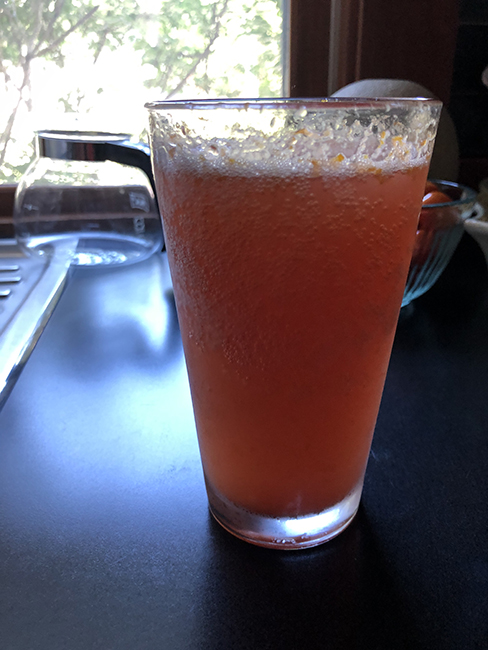
Rhubarb-orange soda made from the rhubarb roasting syrup

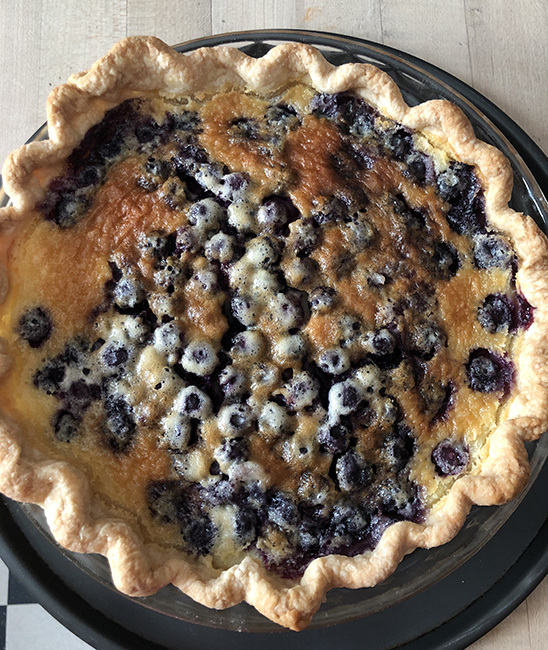
Blueberry Buttermilk Pie

I put together two recipes to make this pie – one I thought had too much butter, the other too much sugar. I think I got to a happy medium, although I still want to try reducing the sugar in the filling maybe a bit more (3/4-2/3 cup), to see if there’d be more tang from the buttermilk.

Crust: (a.k.a. Deb’s no fail piecrust)
1 1/2 cups flour
good pinch salt, unless you’re using salted butter
1 tablespoon sugar
1/2 cup butter, either salted or un- (1 stick, 8 tablespoons)
1 tablespoon vegetable shortening or lard
1 tablespoon sugar
2-4 tablespoons cold water

Filling:
1 cup fresh or thawed frozen blueberries (see note*)
3/4 cup flour, divided
1 cup sugar
1/4 cup (1/2 stick) salted butter, melted
3 eggs
1 cup buttermilk
1 teaspoon vanilla
A few grates of fresh nutmeg; about 1/2 teaspoon

Make the crust: measure the flour, salt and sugar into the bowl of your stand mixer (my favorite method), your food processor, or a mixing bowl. Slice the butter and shortening over the top and combine with the flour mixture, using the paddle attachment of the mixer, by pulsing the processor, or using a pastry blender, 2 knives or your fingers, until you have a crumbly mixture with no butter lumps bigger than currants. With the mixer or processor running, or while stirring with  fork, drizzle in the water by tablespoons, until the mixture just starts to come together in clumps. Stop before you have one big ball. Turn the crust out onto a floured surface and knead lightly to bring it together. Gather it into a ball, flatten into a disk, wrap (in plastic, wax paper, one of your reusable snack/sandwich bags), and chill for about an hour, and up to 2 days.

When you’re ready to bake, roll out the crust and fit it into a deep 9-inch pie plate and crimp the edges. Set it in the freezer or fridge to chill while you make the filling.

Heat the oven to 425° with a rack in the bottom third. Place a baking sheet or pizza pan large enough to hold the pie and catch drips on the rack, and let it get hot too.

Make the filling: Toss the blueberries with 1/4 cup flour. Combine the remaining 1/2 flour and sugar in a bowl, and whisk in the melted butter. Whisk in the eggs, one at a time, mixing well after each egg. Pour in the buttermilk and vanilla, and grate in the nutmeg. Pour the filling into the crust – it helps to take it out of the freezer, first <grin>.  Sprinkle the blueberries on top. Place the pie on the preheated baking sheet, close up the oven, and bake for 10 minutes. Reduce the heat to 350º, and bake for about 25 minutes until the filling is set.

*note: Usually when you thaw frozen blueberries you get a lot of blue juice that really dyes the dish. I tried the thaw-the-berries-in-a-strainer trick, and that worked great. I was surprised how luscious the frozen berries were baked in the filling!

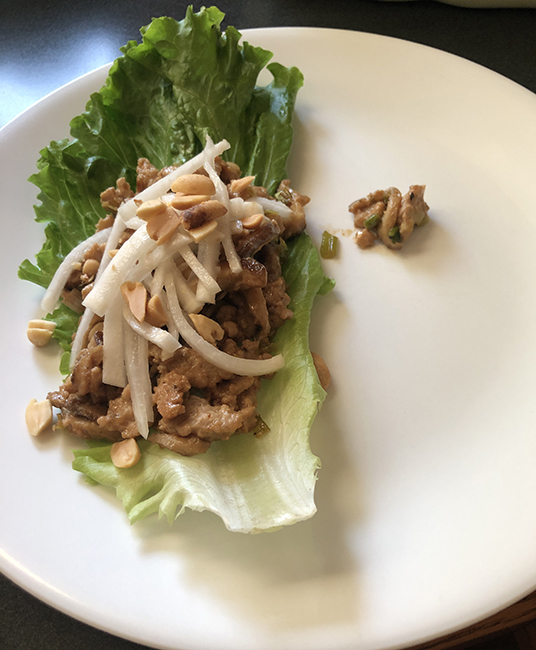
Turkey shiitake lettuce wraps

Serves 4
Prep time: 30 minutes

Ingredients:

one salad turnip, cut into matchsticks
a good pinch of kosher salt
drizzle of toasted sesame oil
8 oz. shiitake mushrooms
1 tablespoon butter
3-4 tablespoons hoisin sauce, divided (you can purchase or make your own)
1 tablespoon vegetable oil
1 pound ground turkey
1/4 cup peanut butter
3 tablespoons soy sauce
1 tablespoon toasted sesame oil
3-4 scallions, sliced thinly into rounds
12 leaves of lettuce cleaned
A handful of chopped roasted peanuts, Siracha, soy sauce, more hoisin – for serving

Toss the turnip and salt in a small bowl and set aside for topping.

Rinse the mushrooms, taking care not to soak them. Trim the stems – or remove them and save for veggie stock (I find shiitake stems to be a bit tough), and slice. Melt the butter in a wide deep skillet and and sauté the mushrooms till they’re fragrant and lightly browned. Drizzle in about 1 tablespoon of the hoisin sauce, and remove to a plate.

Wipe out the pan, add the vegetable oil and the ground turkey and cook, crumbling the meat with a wooden spoon, until the meat is nicely browned. Add the remaining hoisin sauce, peanut butter, soy sauce and sesame oil, and mix. Add the scallions, remove from the heat, and stir in the reserved mushrooms.

Serve warm with the lettuce leaves, turnip matchsticks, and other toppings.

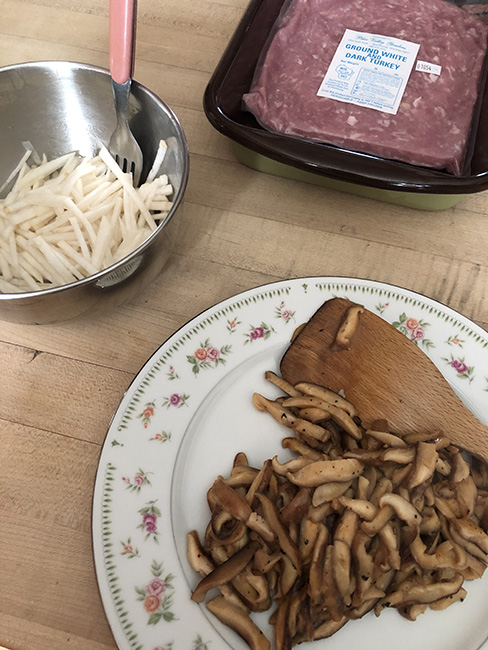
Wraps in progress – turnip matchsticks, pack of ground turkey, sauteed shiitakes