Buttermilk-whole-wheat-cinnamon-fig-filled-scones

Mark says they should be called Deb’s fig newton scones. Well, maybe.
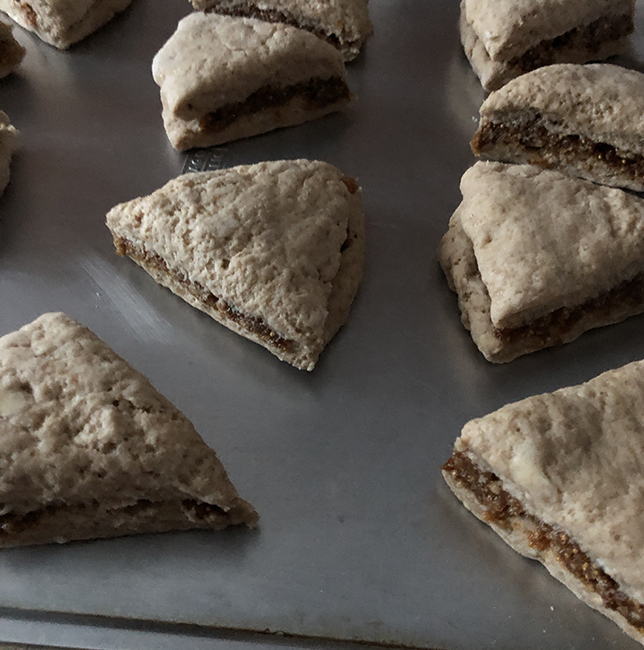
Raw scones

Ingredients:

Scones:
2 cups unbleached white flour
1 cup whole wheat flour
1/4 cup granulated or brown sugar (light or dark)
1 tablespoon baking powder
1 teaspoon soda
1 teaspoon cinnamon
3/4 teaspoon salt
6 tablespoons unsalted butter
one large egg
about 3/4 cup buttermilk
1 teaspoon vanilla
1 cup fig preserves (I used Italian fig bar filling (no nuts or brandy in mine), made from figs, honey, dates, and cinnamon)

Glaze:
1 cup powdered sugar
1 tablespoon lemon juice
1 tablespoon buttermilk

Method:
Measure the flours, baking powder and soda, cinnamon, and salt into the bowl of a food processor or a large mixing bowl. Slice the butter over the top and either pulse in the food processor, or use a pastry blender or your fingers to cut the butter into the dry ingredients, until you have a sandy mixture.

Crack the egg into a spouted 1-cup measure, and beat lightly, then add the buttermilk to the 1-cup line, and add the vanilla. If you’ve been using a food processor, empty the contents into a bowl, make a well in the center, and pour in the liquid. If your dry mixture is in the bowl, no need to transfer. Mix with a fork until a soft dough forms. Knead the dough together in the bowl, and add a little more buttermilk if necessary to help it hold together.

Turn the dough out onto a floured surface, gather it into a ball and divide it in half. Form each half into a ball, and working with one at a time, cut the ball in half and pat each half into a 6-7 inch circle. Spread one circle with half the fig preserves, and top with the second circle. Pat together lightly, then cut the into 6 wedges and arrange on an ungreased baking sheet. Repeat with the second ball of dough and the rest of the fig filling.

Bake at 375° for about 20-25 minutes until puffed, firm, and lightly browned.

While the scones are baking mix the glaze ingredients, adding a bit of water to get a pourable consistency.  Drizzle the glaze over the scones while they are still warm.

Makes 1 dozen scones.

Originally posted February 2020
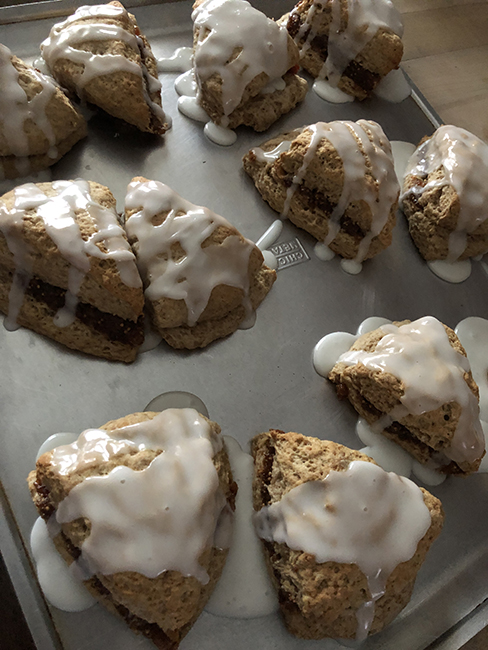
Baked and glazed scones

From-scratch green bean casserole

Mushroom Sauce (based on Ovens of Brittany Cookbook):

  • 2 tablespoons butter
  • 2 cups mushrooms, washed and sliced – about 1 pound
  • ½ cup finely chopped onions
  • 1 large or 2 smaller cloves of garlic, minced or put through a press (about 2 teaspoons)
  • 3 tablespoons butter
  • ¼ cup flour
  • 2 ½ cups milk
  • 2 tablespoons dried onion or vegetable soup mix (optional)
  • ½ cup peeled, seeded, and chopped tomatoes, fresh or canned (optional)
  • ½ cup sour cream
  • A few grates of fresh nutmeg
  • Salt and pepper to taste

Crispy shallots

  • 1 cup thinly sliced shallots – about 2 large
  • ½ cup oil – olive or other
  • Salt

Beans

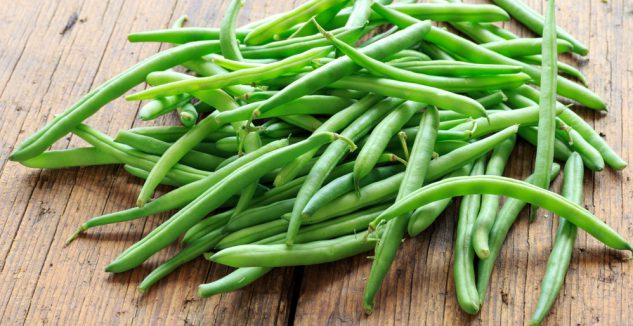
  • 1 ½ to 2 pounds green beans

Make the sauce: Melt the two tablespoons of butter in a wide skillet, and sauté the mushrooms, onions, and garlic until they’re tender, 5-10 minutes, seasoning with salt & pepper. Set aside. Melt the three tablespoons of butter in a saucepan, add the flour and stir well until you have a smooth paste (roux). Heat the milk in the microwave or stove stop, and add the soup mix if using, then pour slowly into the roux, whisking. Season with salt and pepper and nutmeg. Stir until the it’s smooth and thickened, then fold in the mushrooms and the tomatoes if using, and simmer for about 10 minutes. Stir in the sour cream and remove from the heat.

Make the crispy shallots: Combine the shallots and the oil in a heavy bottomed pan and place on a burner on medium heat. When the mixture begins to bubble, reduce the heat, and fry the shallots stirring occasionally, for 15-18 minutes. Watch carefully, since once they begin to brown, they can burn quickly. Scoop the shallots out and drain on paper towel or drain in a strainer set over a bowl. Reserve the oil for salad dressings or sautéed vegetables.

Prepare the green beans: rinse and trim the beans – remove the stem ends; blossom end optional. Cut the beans into bite size length – about 1 ½- 2 inches. Place the beans in the basket of a steamer and steam until they’re tender but still bright green.

Assemble the dish: Place the beans in a shallow casserole, and cover with the sauce. Cover with foil and bake in a 350° oven for about 30 minutes until heated through and starting to bubble. Remove the foil, top with the shallots, and cook another 15 minutes.

Originally posted November 2019; for Orange Tree Imports Cooking Class

Julia Child’s Tian de Courgettes au Riz (Zucchini Tian)


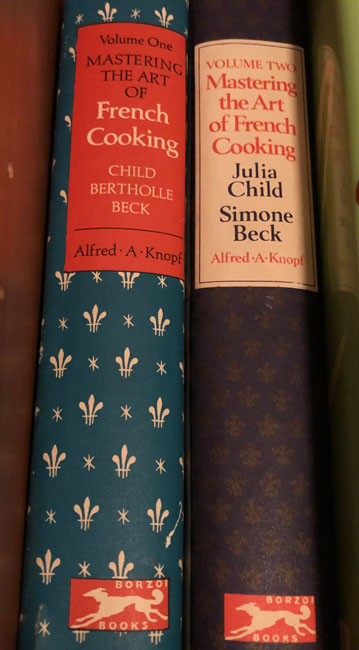
This recipe is for that time in the summer, when you are drowning in zucchini – it uses A LOT! It’s all over the Internet; find it on Food52, Smitten Kitchen has a version, and other places online. I am lucky enough to have it my mother’s original Mastering the Art of French Cooking, Vol. 2, published in 1970 (although my mother’s says seventh printing, 1973 – I was 18). I’ve updated the directions and made them a little more straightforward (IMHO), although I did leave out some of Julia’s edicts to taste, carefully, or critically, another of her favorite adverbs.

2 to 2 1/2 pounds zucchini
2 teaspoons kosher salt
1/2 cup white rice
3 to 4 tablespoons olive oil
1 cup minced onions
2 large cloves garlic, mashed or put through a press
2 tablespoons flour
2 1/2 cups warm liquid: zucchini juices plus milk
2/3 cup grated Parmesan cheese, divided
Salt and freshly ground pepper to taste
about 2 additional tablespoons olive oil

Grate the zucchini and place it in a colander set over a bowl. Toss with the kosher salt and set aside to drain for about 30 minutes.

Fill a saucepan that holds at least two quarts about 2/3 full with water, and bring to a boil. Drop the rice in, let it come back to a boil, and boil for 5 minutes. Drain and set aside.

Heat the 3-4 tablespoons olive oil in a wide skillet, add the onions and garlic and cook gently over medium heat until translucent and soft but not brown, about 10 minutes, then raise the heat for a few minutes and lightly brown.

Heat the oven to 425°.

Squeeze the juices out of the zucchini with your hands, reserving the liquid in the bowl under the colander, and transfer the zucchini to a clean dish towel. Wrap the towel around the zucchini and twist to squeeze more juice out, into the colander/bowl. Dump the zucchini into the skillet and stir to combine with onions and garlic. Sprinkle in the flour, and stir to combine well.

Measure the zucchini liquid and add milk to make 2 ½ cups. Heat the liquid in the microwave, and pour slowly into the skillet. Stir well, bring to a boil, and stir until slightly thickened.

Remove the skillet from the heat and stir in all but 2 tablespoons of the Parmesan cheese and the rice. Transfer the mixture to a well buttered, 2-quart, shallow, baking dish. Sprinkle with the remaining Parmesan cheese, drizzle with olive oil, and bake in the 425 oven until nicely browned, bubbling, and the rice has absorbed all the liquid – about  20-30 minutes. If you bake it a little too long it gets a brown crust on the bottom that is delicious.

For Orange Tree Imports, Farmers’ Market to Table class, August 2019

Late summer fruit crumble

Based on a Smitten Kitchen recipe, (https://smittenkitchen.com/2007/05/crumbling-crisp-convictions/) but that one is a strawberry-rhubarb crumble, for spring, and I’m recommending summer fruit – blueberries, peaches, plums, cherries. I did a few things differently in the method, too.

The original says 6 to 8 servings; you might get more than that, with ice cream.

For the topping:
1 1/2 cups flour
1 teaspoon baking powder
3 tablespoons sugar
3 tablespoons light brown sugar
A few grates of nutmeg
About 1 teaspoon finely grated lemon zest lemon
1/4 pound (1 stick or 4 ounces) unsalted butter, melted
pinch of salt – or use salted butter

For the filling:
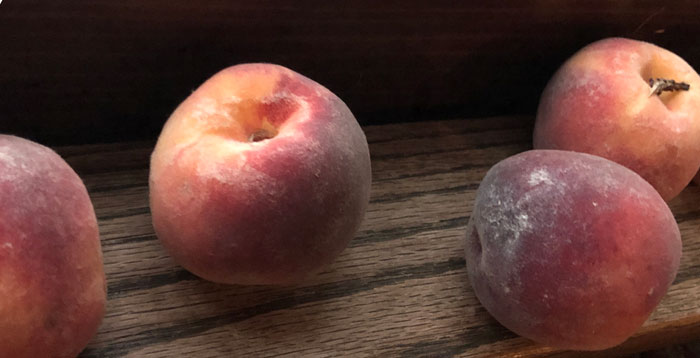
4 to 4 ½ cups pitted and sliced fruit – peeled if you use peaches* (cherry-peach or peach and plum are especially nice)
2-3 tablespoons lemon juice from the lemon you zested for the topping

8-10 TBLS sugar, depending on the sweetness of the fruit
3 tablespoons cornstarch
2 tablespoons flour
Pinch of salt

Heat oven to 375°F. Make topping: Combine the flour, baking powder, sugars and lemon zest in a bowl. Stir in the melted butter with a fork until you have formed small and large clumps. Refrigerate or set in the freezer while you make the filling.

Make the filling: Toss the fruit, lemon juice juice, sugar, cornstarch, flour, and salt together in a bowl. Scrape the filling into a shallow baking dish that holds about at least a quart. Bake the filling until it is bubbling around the edges – about 20 minutes. Remove the baking dish from the oven and get the topping from fridge or freezer, and crumble it over the fruit with your hands, so get all sizes of crumbs. Put the dish back in the oven and bake until crumble topping is golden brown and fruit is bubbling underneath, about 20 – 25 minutes.

Eat with ice cream.

*To peel peaches, place them in a medium pot that will hold all of them comfortably. Cover them with cold water, then remove the peaches from the water, place the pot on the stove, and bring to a full boil. Drop the peaches in and count to 30 slowly. Pour the hot water out in the sink, and flood the pot with cold water. As soon as you can handle them, pull the skins off the peaches (they should come off easily). As you skin the peaches, slice them into the bowl you’ll use to mix up the filling.

For Orange Tree Imports, Farmers’ Market to Table class, August 2019

Zucchini Muffins (or bread)

or, “How come I’ve never posted a zucchini muffins recipe? in over 10 years of blogging ….” Maybe it’s because I’m never sure if there are 2 c’s or 2 n’s in zucchini.

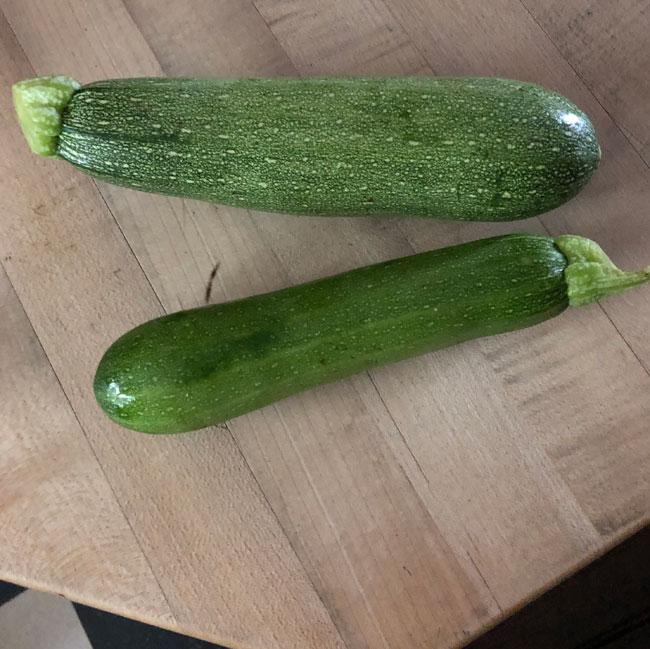
2 zucchini

Makes 12-14 muffins or one large loaf.

3 cups grated zucchini, lightly packed measure
1/2 cup or 1 stick unsalted butter, melted & cooled
1/2 cup vegetable oil
1/2 cup packed light or dark brown sugar
1/2 cup honey
3 large eggs
1 tablespoon baking powder
3/4 teaspoon salt
2 teaspoons cinnamon
1/4 teaspoons ground nutmeg or allspice
1 teaspoon vanilla extract
3 cups all-purpose unbleached flour, or 2 cups AP and 1 cup whole wheat
optional: 1 cup semi-sweet chocolate chips (or chopped nuts, raisins, etc)

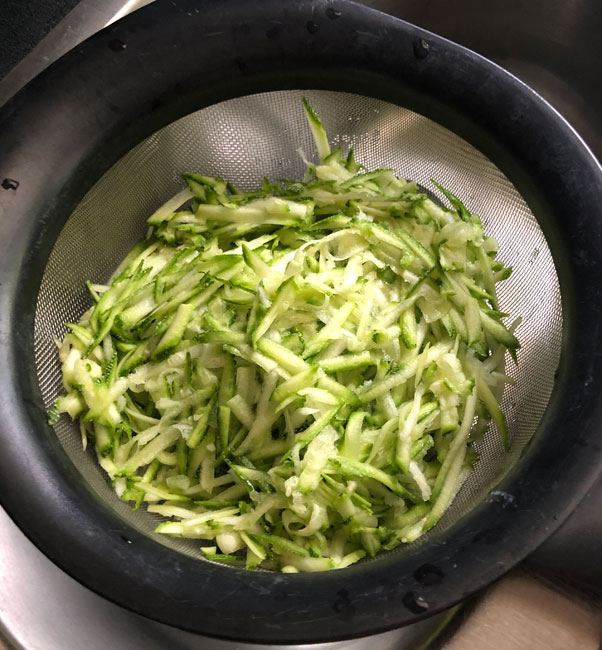
Grate the zucchini and set it aside in a colander or strainer.

grated zucchini

Heat the oven to 375° (or 350° for a loaf). Line a 12-well muffin tin with papers, or grease it with softened butter, making sure to get the top of the pan. For a loaf of zucchini bread, grease a loaf pan. I especially like the tea bread size, 12 x 4 inches, longer and narrower than a regular 9 x 5 loaf – it seems to work best for sweet loaves like this.

Measure the oil into a large mixing bowl. Add sugar and honey and melted butter. Mix well until emulsified, then beat in the eggs one at a time. Add the baking powder, baking soda, salt, and spices. Pour in the vanilla, and mix lightly. Add the flour, and top it the zucchini, squeezing some of the moisture out of it as you transfer it by handfuls to the mixing bowl. Fold in the flour and zucchini, then add the chocolate chips, if using. Mix everything until there’s no dry flour or big clumps of zucchini, but try not to over-mix.

Scoop the batter into the prepared pan, and bake for 20-25 minutes, until browned and firm. Bake the loaf 35-50 minutes at 350°

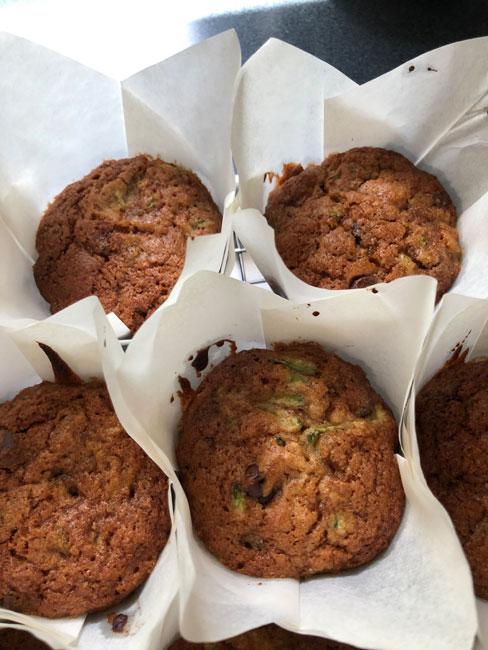
Zucchini Muffins 2019
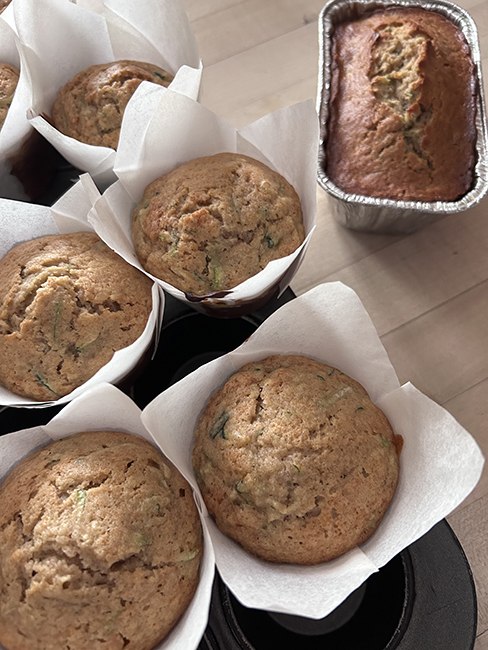
2024 update

Originally posted July 2019; updated July 2024

Outrageous Rhubarb Coffee Cake

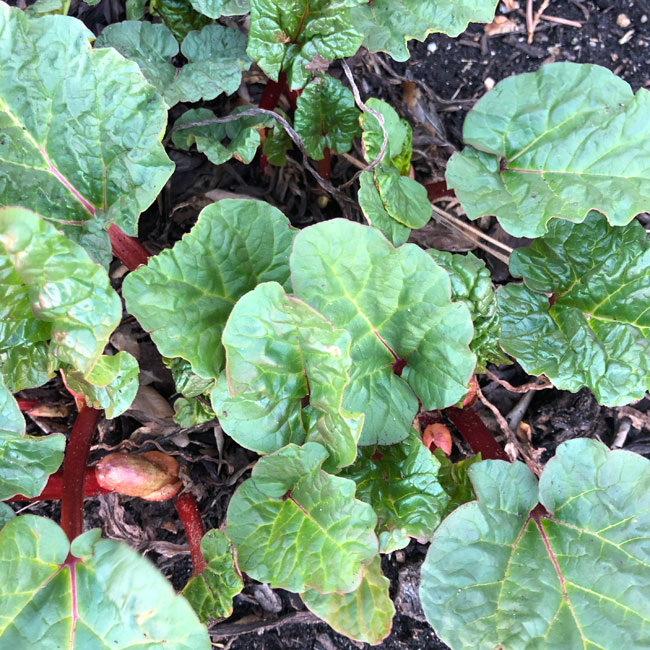
Very young rhubarb at Allen Centennial Garden

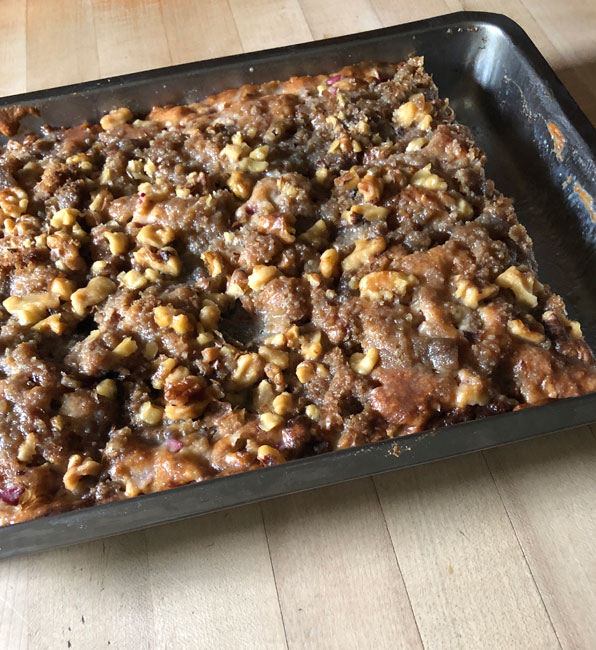
The first time I made this recipe, I did not read carefully enough and added the brown sugar and nuts that are supposed to be sprinkled on top to the batter! The cake still tasted fine, but to make sure you don’t make the same mistake, I’ve separated the batter, sprinkle on top, and pour-over syrup ingredients.

Ingredients

1 cup buttermilk
1/4 cup melted butter
1 egg
1 tsp vanilla
3 cups chopped rhubarb
2 3/4 cups flour
1 cup sugar
1 tsp baking soda
1/2 tsp salt
Sprinkle on top:
1 cup brown sugar
1/2 cup chopped nuts
Topping:
1/2 cup butter
1/2 cup half & half
1 cup sugar
1 tsp vanilla

Directions

  1. Heat oven to 350°.
  2. Grease a 9 x 13 inch baking pan.
  3. In a bowl, mix buttermilk, melted butter, egg, and vanilla.
  4. Stir in the rhubarb.
  5. In a large bowl, mix flour, white sugar, baking soda, and salt.
  6. Make a well in the center of the dry ingredients. Add the wet ingredients into the dry ad stir until just combined.
  7. Spread batter into pan.
  8. Sprinkle brown sugar and chopped nuts on top.
  9. Bake 45-55 minutes, until a toothpick inserted in center of cake comes out clean.
  10. Meanwhile, combine all the topping ingredients except the vanilla in a saucepan, and stir over medium heat until smooth. Bring to a boil and let it bubble for just a few minutes until slightly thickened. Remove from the heat and add the vanilla.
  11. When the cake comes out of the oven, poke deep holes over the surface with a fork or skewer.
  12. Drizzle the warm sauce over the cake holes.
  13. Cool and serve. Refrigerate the leftovers.

Originally posted June 2019

Roman-style cheese tart

Crust:

  • 1 1/2 cups unbleached white flour
  • 1/3 cup sugar
  • pinch of kosher salt
  • 1/2 teaspoon baking powder
  • 8 tablespoons, 1 stick, 4 oz., softened unsalted butter
  • 1 large egg lightly beaten

Filling:

  • 3 ounces cream cheese, softened
  • 1/4 cup sugar
  • 1 tablespoon dark rum or 2 teaspoons vanilla
  • 1 large egg yolk
  • 1 cup whole milk ricotta cheese

Make the crust:

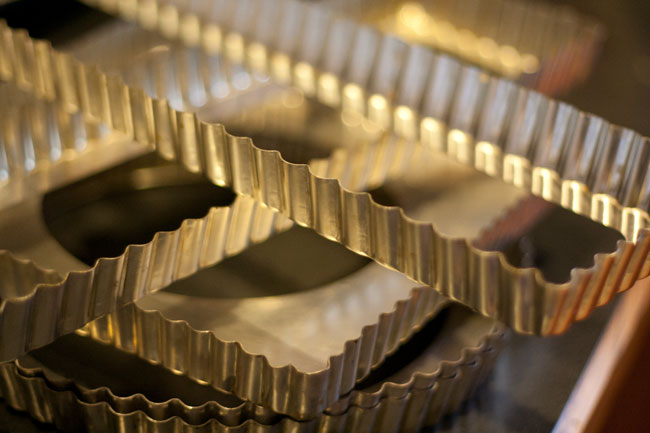
Mix the flour, sugar, salt, and baking powder in a large bowl. Blend in the butter until it looks like crumbs. Mix the beaten egg in with a fork until you have a soft dough. Pat the dough into the bottom and up the sides of a 9-inch tart tin with removeable bottom. Chill for 30 minutes.

Make the filling:

Mix the cream cheese, sugar, and rum or vanilla. Add the egg yolk and ricotta and mix well.

Bake the pie: 

Heat the oven to 350°. Pour the cheese filling into the crust. Bake for 45 minutes or until puffed and brown. Cool on a rack for 10 minutes, or until cool enough to handle, and then remove the outer rim of the tart tin. Serve at room temperature or slightly chilled. Refrigerate any leftovers.

For Orange Tree Imports cooking class

Crostata di Ricotta

Filling:

  • 1/3 cup dark raisons
  • 2 tablespoons brandy (Grappa is more Italian; brandy is more Sconnie)
  • one 15-ounce container whole milk ricotta
  • 2 large eggs
  • 1/2 cup sugar
  • 1 teaspoon vanilla extract
  • 1 teaspoon grated orange zest
  • 2 ounces, about 1/3 cup, semi-sweet chocolate chopped into bits (or use mini-chips)

Crostata assembly & serving:

  • One batch of double crust pasta frolla. Your choice, but I prefer scented with orange zest for this tart.
  • One large egg yolk beaten with a little water for egg wash
  • Confectioners sugar, if desired

Roll out the bottom crust:

On a lightly floured surface, roll out half the dough into a 10-inch circle, that’s about 1/8 inch thick. Fit the dough into a 9-inch fluted tart pan with a removeable bottom. Trim the overhang to about 1/2 an inch, and fold and press that into the sides of the pan, to make the sides thicker than the bottom. Chill the shell for abut 30 minutes.

Prepare the filling:

Soak the raisons in the brandy for 30 minutes.

Mix the ricotta, eggs, sugar, vanilla, and orange zest in a large bowl until no streaks of egg remain. Stir in the raisons with all their liquid, and the chocolate.

Assemble the crostata:

Heat the oven to 350°, with a rack in the bottom third.

Spread the filling into the chilled bottom crust.

Roll out the second disk of dough into a 10-inch circle, and cut as many 1-inch wide strips as you can. Use a fluted pastry cutter if you have one, or a knife.

Brush the edges of the tart with the egg wash. Lay about half the strips across the tart going one direction. Brush them with the egg wash. Lay the remaining strips cross-wise over the other strips, forming a lattice –  no need to weave. Brush with egg wash.

Put the tart in the oven (if you’re worried the pan may leak, place a cookie sheet or round pizza pan under the tart pan) and bake for 30 to 35 minutes, or until the pastry is golden brown. Cool on a rack for 10 minutes, or until cool enough to handle, and then remove the outer rim of the tart tin.

For Orange Tree Imports cooking class

Crostata de Marmellata

Filling:

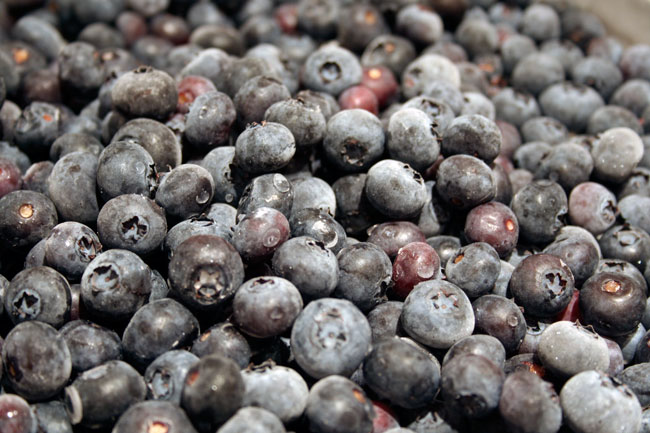
  • 2 cups fresh or un-thawed frozen blueberries
  • 1 cup sugar 1/2 cup sugar

Crostata assembly & serving:

  • One batch of double crust pasta frolla. Your choice, but I prefer scented with lemon zest for this tart.
  • One large egg yolk beaten with a little water for egg wash
  • Confectioners sugar, if desired

Roll out the bottom crust:

On a lightly floured surface, roll out half the dough into a 10-inch circle, that’s about 1/8 inch thick. Fit the dough into a 9-inch fluted tart pan with a removeable bottom. Trim the overhang to about 1/2 an inch, and fold and press that into the sides of the pan, to make the sides thicker than the bottom. Chill the shell for abut 30 minutes.

Prepare the filling:

Combine the berries and the sugar in a sauce pan that’s at least 2 quarts, cover, and cook over medium-high heat until the berries start give off juice. Uncover, bring to a boil, then reduce heat and cook for about 10 minutes, until berries are very soft. Mash the berries with a spoon, and continue cooking up to 10 minutes longer until very thick. Cool the filling.

Assemble the crostata:

Heat the oven to 350°, with a rack in the bottom third.

Spread the cooled filling into the crust.

Roll out the second disk of dough into a 10-inch circle, and cut as many 1-inch wide strips as you can. Use a fluted pastry cutter if you have one, or a knife.

Brush the edges of the tart with the egg wash. Lay about half the strips across the tart going one direction. Brush them with the egg wash. Lay the remaining strips cross-wise over the other strips, forming a lattice –  no need to weave. Brush with egg wash.

Put the tart in the oven (if you’re worried the pan may leak, place a cookie sheet or round pizza pan under the tart pan) and bake for 30 to 35 minutes, or until the pastry is golden brown. Cool on a rack for 10 minutes, or until cool enough to handle, and then remove the outer rim of the tart tin. Cool completely, and dust with confectioners sugar if desired, just before serving.

For Orange Tree Imports cooking class

Pasta Frolla

Pasta Frolla is an all-purpose sweet dough that can be used for tarts and cookies. It’s easy to handle and can be rolled or patted into baking tins. This recipe is based on Michele Scicolone’s La Dolce Vita, and was also published in the Sept. 1992 issue of Gourmet magazine.

Double Crust pasta frolla (two 9-inch crusts)

  • 2 1/2 2  1/3 cups unbleached white flour
  • 1/3 cup sugar
  • pinch of salt
  • grated zest of one lemon, or a small orange
  • 12 tablespoons – 1 1/2 sticks – cold unsalted butter
  • 1 large egg, plus 1 egg yolk
  • 1 teaspoon real vanilla extract

Combine the flour, sugar, and salt in the work bowl of a food processor – or the bowl of a stand mixer, or, if you do not have either appliance, a large mixing bowl. Slice the butter in on top of the dry ingredients, and either pulse in the food processor, or cut the butter in with the paddle blade of the mixer, or a pastry blender or your fingers in the large bowl, until the mixture resembles a coarse meal, and there are no large pieces of butter left.

Beat the egg and egg yolk together with a fork, add the vanilla, and drizzle the liquid into the food processor or mixing bowl. Pulse or mix until the dough just comes together. Turn the dough out onto a work surface, divide it in half and shape it into two disks. Wrap on wax paper and chill for an hour or overnight. You can also freeze the dough at this point, for later use.

Pasta Frolla Almond Cookies:

On a lightly floured surface, roll the pasta frolla out about 1/4 inch thick. Cut into desired shapes and arrange on parchment lined cookie sheets. Brush with an egg wash, and sprinkle with sliced almonds and coarse sugar. Dab a little extra egg wash on top to really adhere the nuts and sugar. Bake at 375° for 8-10 minutes until lightly browned.

For Orange Tree Imports cooking class