Use this formula to make vegetable – and cheese! – quiche, using just about any vegetable and cheese.
Crust:
1 1/2 cups flour (unbleached white or whole wheat)
good pinch salt, unless you’re using salted butter
2 teaspoons sugar
1/2 cup butter, either salted or un- (1 stick, 8 tablespoons)
1 tablespoon vegetable shortening or lard
1 tablespoon sugar
2-4 tablespoons cold water
Filling:
1-2 tablespoons butter or olive oil
1/2 to 1 cup chopped onion, or other onion-like vegetable – shallots, scallions, leeks, etc.
Two generous cups vegetables, cleaned and sliced, e.g. asparagus, broccoli, mushrooms, kale or other sturdy greens, etc. The exception is spinach – since it will wilt down a lot, you’ll need to start with at least half a pound and up to one pound of spinach.
salt and freshly ground pepper
1 1/2 cups grated cheese, 3-4 ounces, or similar volume crumbled goat cheese or feta
2-4 eggs
1 1/2 to 1 2/3 cups half & half, buttermilk, heavy cream, or a mixture
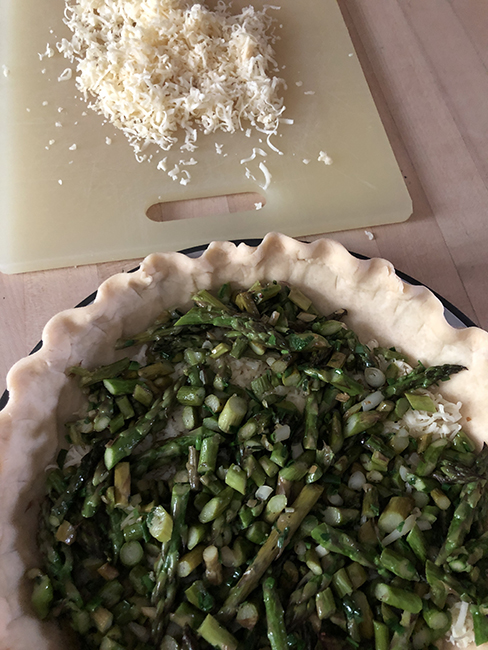
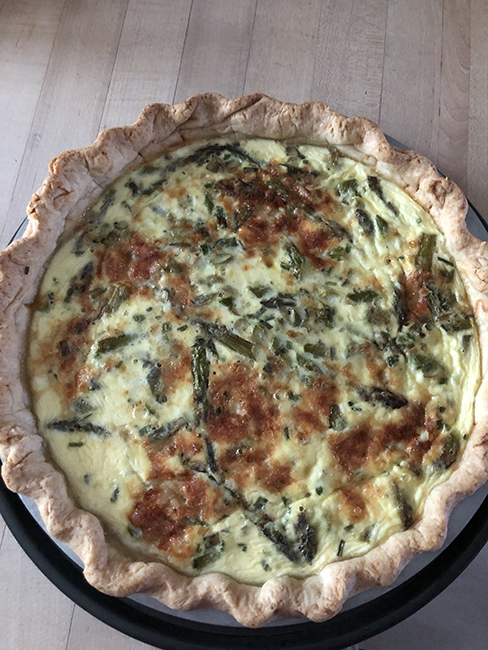
See below for process pictures.
Make the crust: measure the flour, salt and sugar into the bowl of your stand mixer (my favorite method), your food processor, or a mixing bowl. Slice the butter and shortening over the top and combine with the flour mixture, using the paddle attachment of the mixer, by pulsing the processor, or using a pastry blender, 2 knives, or your fingers, until you have a crumbly mixture with no butter lumps bigger than currants. With the mixer or processor running, or while stirring with fork, drizzle in the water by tablespoons, until the mixture just starts to come together in clumps. Stop before you have one big ball. Turn the crust out onto a floured surface and knead lightly to bring it together. Gather it into a ball, flatten into a disk, wrap (in plastic, wax paper, one of your reusable snack/sandwich bags), and chill for about an hour, and up to 2 days.
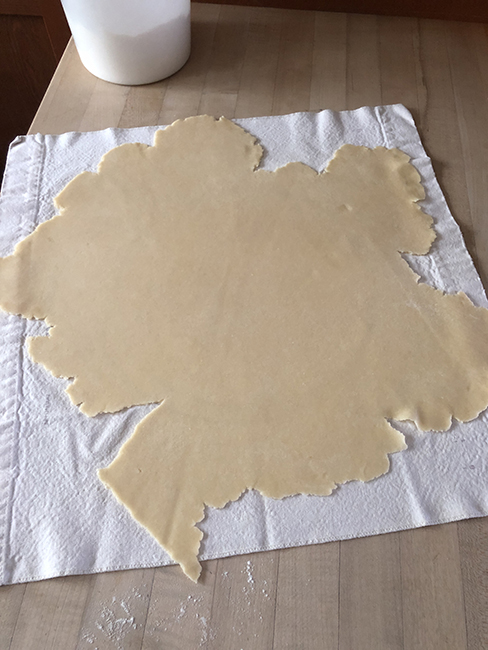
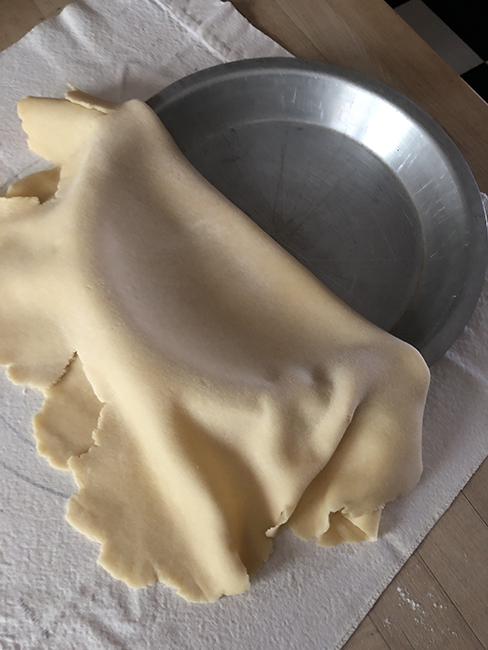
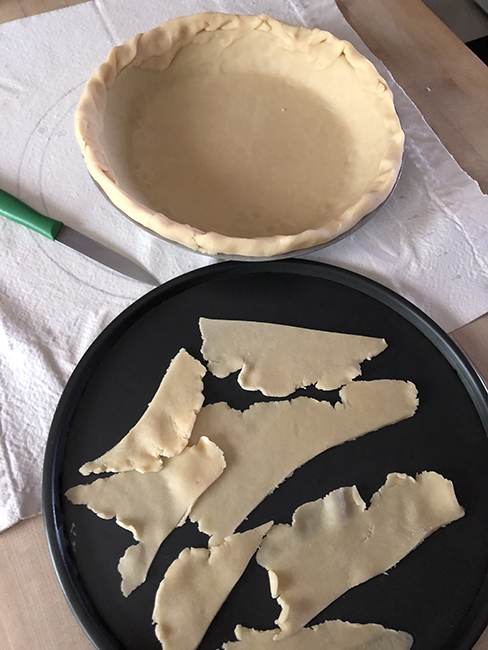
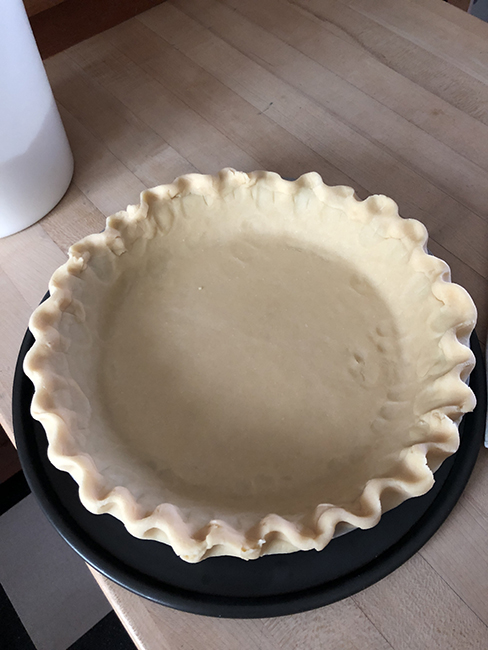
When you are ready to assemble the quiche, if the dough has been chilling, get it out of the fridge about 15 minutes before you want to roll it out, to soften just a bit. Roll out the crust and fit it into a shallow 9-inch pie plate, metal preferred. The crust browns better in metal then glass, and tends to slip down the sides less. Set the crust in the fridge or freezer while you prepare the filling.
Make the filling: melt the butter or pour the olive oil in a 10-12 inch skillet with a lid. Add the onions and sauté over medium heat until softened but not browned, 5-10 minutes. If you are using a vegetable with harder parts, such as asparagus stalks or broccoli or chard stems, add them now. Season with salt and pepper and continue to cook until starting to soften, another 5 minutes or so. Add the rest of the vegetable, e.g. asparagus tips or broccoli florets. Cover the pan the let everything steam until the vegetables are done to your liking – they should be a little underdone than for regular eating, since they will cook again in the quiche. If you are using greens add them to the onion mixture, and cover right away to wilt. Remove the lid and cook for a few more minutes to boil off any excess liquid. remove from the heat and let cool.
Assemble the quiche: Heat the oven to 375° Get the quiche crust out of the fridge or freezer, and place it on a cookie sheet or pizza pan, dark colored (better for browning) if you have one.
Sprinkle a layer of cheese into the bottom of the crust, reserving about 1/3 cup for topping. Beat the eggs in a spouted measuring cup that’s at least 2 cups (one pint) or larger if you have one. Add enough of whatever dairy product you are using to come to 2 1/4 cups. Add the vegetable filling on top of the cheese, and then pour in the egg mixture. Some people like to put the vegetable & cheese filled quiche onto the oven rack, and then add the egg to avoid having to walk across the kitchen with a liquid-filled quiche. If your oven racks don’t slide in smoothly you might spill the quiche at that point, however.
Bake for about 25 minutes on an upper rack then move to a lower rack and back another 20 minutes or so until puffed and golden. Allow to rest for about 15 minutes before cutting and serving. Enjoy hot or room temperature.
