Based on this recipe from Food Network
- 1 sheet frozen puff pastry, 1/2 package (17.3 ounces), thawed
- 3/4 pound asparagus, rinsed, dried, and chopped into 1-inch lengths (tips a little longer, maybe)
- 1 large scallion, cleaned and thinly sliced
- 1 stalk of green garlic, cleaned and thinly sliced
- small glug – about 2 teaspoons – olive oil
- a few grates of nutmeg
- Kosher salt and ground white pepper
- approximately 2 cups grated cheese – this recipe is good for using up cheese ends. I used white cheddar, Gouda with fenugreek, Jarlsberg, and a lump of plain soft goat
- the Food Network recipe calls for 3 tablespoons whole milk – I left that out due to the goat cheese, but would probably add milk or cream or half & half or buttermilk, if no goat
- 2 egg yolks from large eggs
- the Food Network recipe says to top with freshly grated lemon zest – I think that would be delicious, but I forgot
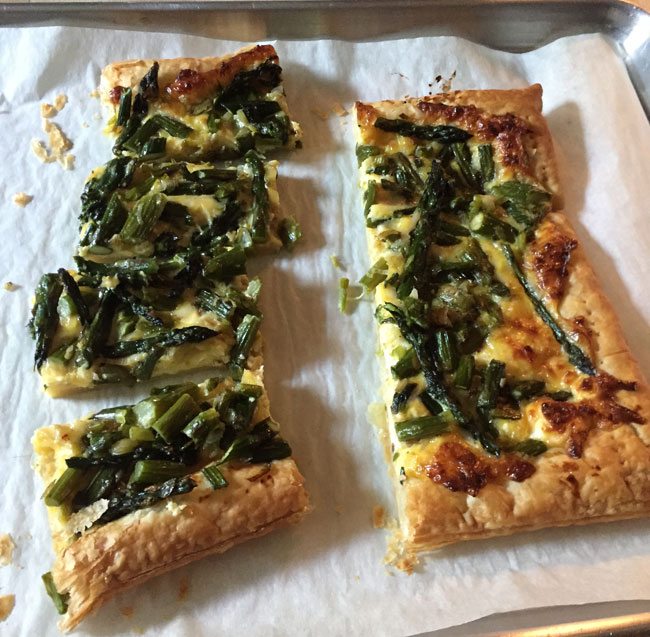
Heat the oven to 400° Roll out the puff pastry into a 10-by-16-inch rectangle on a floured surface. Transfer it to a parchment-lined baking sheet and prick all over with a fork. Bake until light brown all over, about 12 minutes. Remove it from the oven, but leave the oven on.
Add the olive oil to a skillet and heat over medium high heat. Add the asparagus, toss to coat with oil, add the scallion and green garlic, and stir to combine. Put a small amount of water – about a tablespoon – into a lid that fits the skillet. Pour the water into the skillet, cover and cook for about 5 minutes, until the asparagus is tender and bright green. Remove the lid and add the nutmeg and salt and pepper, and toss a bit over the heat to evaporate any remaining water.
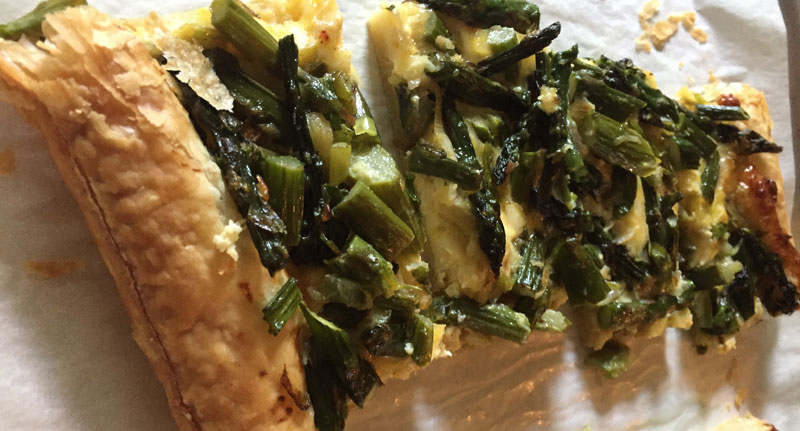
Combine the cheeses and the egg yolks in a bowl, and stir with a fork until you have a fairly unified mixture. Dollop this onto the pastry, and spread it out to within an inch of the edge. Top with the asparagus, and return the tart to the oven. Bake for another 10 to 15 minutes, until the cheese mixture is puffy and congealed and the crust is nicely browned. Eat warm or at room temperature.
Makes about 6 breakfast servings; probably 10-12 appetizer-size.
Posted June 2018


