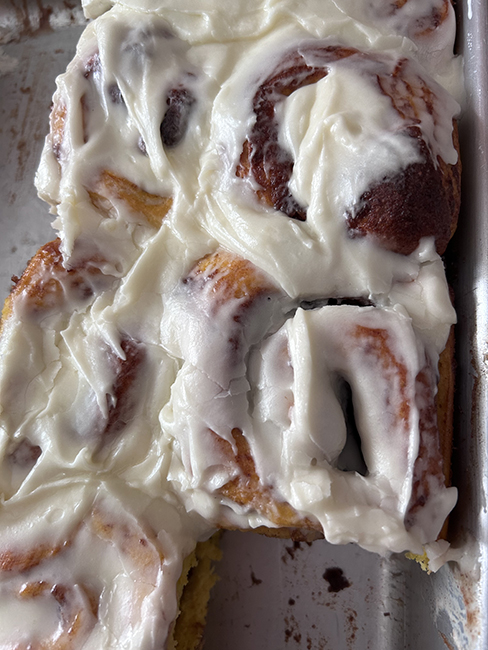
In one of her recipe posts Deb Perelman of Smitten Kitchen muses that cinnamon buns are perfect so we hardly need a new recipe. But of course we always want more, so the possibilities for more cinnamon bun recipes are endless. This one is based on a sweet potato cinnamon bun recipe by Carla Hall, that’s very good. But I made these in April, when I didn’t have a lot of sweet potatoes on hand, but I did have two cartons of “pumpkin” puree, actually winter squash, still in the freezer. So pumpkin replaced the potatoes, and date filling replaced the sweet potato filling.
Dough
4 to 4 1/2 cups unbleached all-purpose flour
⅓ cup sugar
2¼ teaspoons (1 packet) instant yeast
1½ teaspoons table salt
1¼ cups whole milk
6 tablespoons room temperature unsalted butter
1/2 cup pumpkin puree, room temperature
1 large egg, room temperature
Filling
1 packed cup of pitted and chopped dates, preferably Medjool
2 tablespoons butter, softened
1/4 cup dark brown sugar
1 teaspoon cinnamon
1 teaspoon pumpkin pie spice
pinch of kosher salt
Frosting
4 oz cream cheese, room temperature
½ cup unsalted butter, room temperature
3 cups powdered sugar
2 tablespoons milk
1 tablespoon maple syrup
1 teaspoon vanilla extract
Pinch salt
Make the dough: Combine 2 cups of the flour, sugar, yeast, and salt in the bowl of a stand mixer.
Combine the milk and butter in a spouted glass measuring cup that’s at least two cups (or a small microwave safe bowl), and microwave until warm and the butter is starting to melt. In my microwave this took 45 seconds, but yours may vary. Stir until butter is melted.
If you have an instant read thermometer check the temperature of the milk/butter mixture – it shouldn’t be hotter than 90° to 100°. Once it’s cool enough, pour the mixture into the flour mixture. Add the pumpkin and egg. Attach bowl to the mixer fitted with the paddle attachment. Mix on low speed, and add two cups of the the flour a cup at a time. When the flour has been incorporated the dough shouldn’t have any really gooey spots and should be starting to clear the sides of the bowl. Add up to half cup flour to get to the right consistency, then knead on low speed for 9-10 minutes or until the dough is smooth and elastic. I do this with the paddle, but you can switch to the dough hooks if you like.
Transfer the dough to a plastic container with a lid, and let rise about an hour until doubed. Preferably your container has volume markings so you can tell when the dough has doubled, but if not, put a rubber band around the outside of the container at the level of the top of the dough, so you can tell when it’s doubled.
While the dough rises, make the filling: Place the dates in a heat proof bowl and pour in 1 to 1 1/2 cups boiling water. Let stand to soften, 10 minutes or more. Drain the dates, and puree in a food processor with the butter, sugar, and salt. Add the cinnamon and pumpkin pie spice. You can refrigerate the filling while the dough rises in the fridge. Let it come to room temperature before assembling the buns or it will be difficult to spread.
Assemble the buns: Butter or grease a 13 x 9 x 2 baking dish. Turn the dough out onto a lightly floured surface and roll into an approximately 12 x 18 inch rectangle, getting the sides as straight as you can. Spread an even layer of the filling over the dough, leaving more margin at the top long side.
Starting with the long side closest to you roll the dough tightly. Use the margin to pinch and seal. Place the seam side down and even up the roll. Cut into 12 as-equal-as-you-can-get-them slices, and arrange in the greased baking dish. Some people like to use unflavored dental floss for this; I usually just use a knife. Cover the pan with a damp dishtowel or a lid and let rise another hour until doubled.
Bake the buns: while the dough is rising heat the oven to 350°. Bake the buns for 25-35 minutes until they’re firm and risen. Cover the pan with foil if the buns brown too quickly. Remove the buns from the oven and let cool 20-30 minutes. before frosting.
Make the frosting: Place the cream cheese and butter in the bowl of a stand mixer. Using either the paddle or the whisk, beat the cream cheese and butter briefly until combined. Add the powdered sugar, maple syrup, milk, vanilla, and salt. Mix on low until the sugar’s incorporated and then beat for 2-3 minutes until smooth and fluffy. Spread the frosting over the tops of the buns and serve warm from the pan. You’ll probably have leftover frosting – I like to sandwich cinnamon grahams or Biscoff cookies with the leftover frosting and let them harden in the fridge to eat later as a snack.
The buns will keep at room temperature for about 3 days, covered. Refrigerate for longer storage. You can also freeze unfrosted buns.

Recipe a month for May 2024
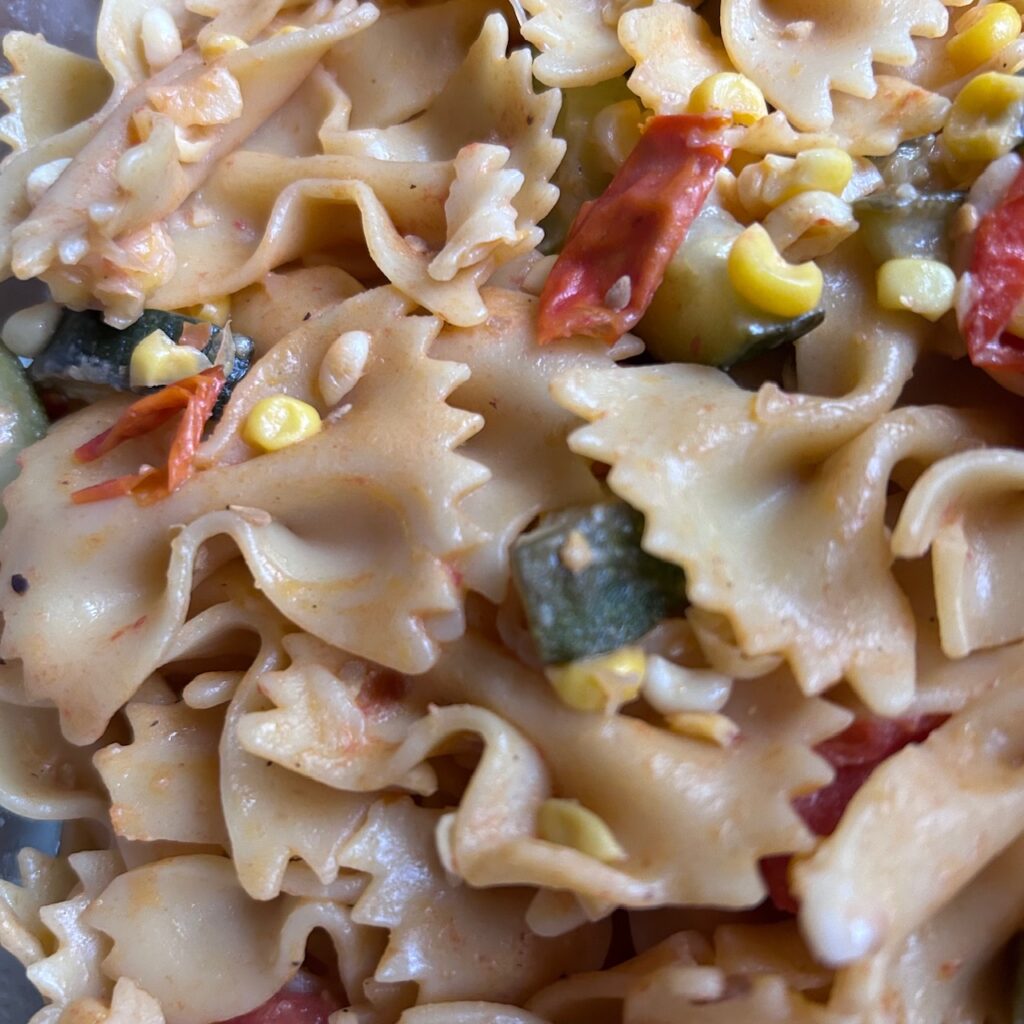 This is the pasta for that time in the summer when you have lots of vegetables – zucchini, tomatoes, corn. You could also sub in other veggies like summer squash, peppers, even broccoli. I tried cooking the pasta in veg broth and am really happy with the results.